

My daughter is going to be Minnie Mouse for Halloween. Today I made her a headband with the minnie mouse ears and bow. I LOVE seeing my kids all dressed up for Halloween! Here's the template. Let me know if you have any questions!
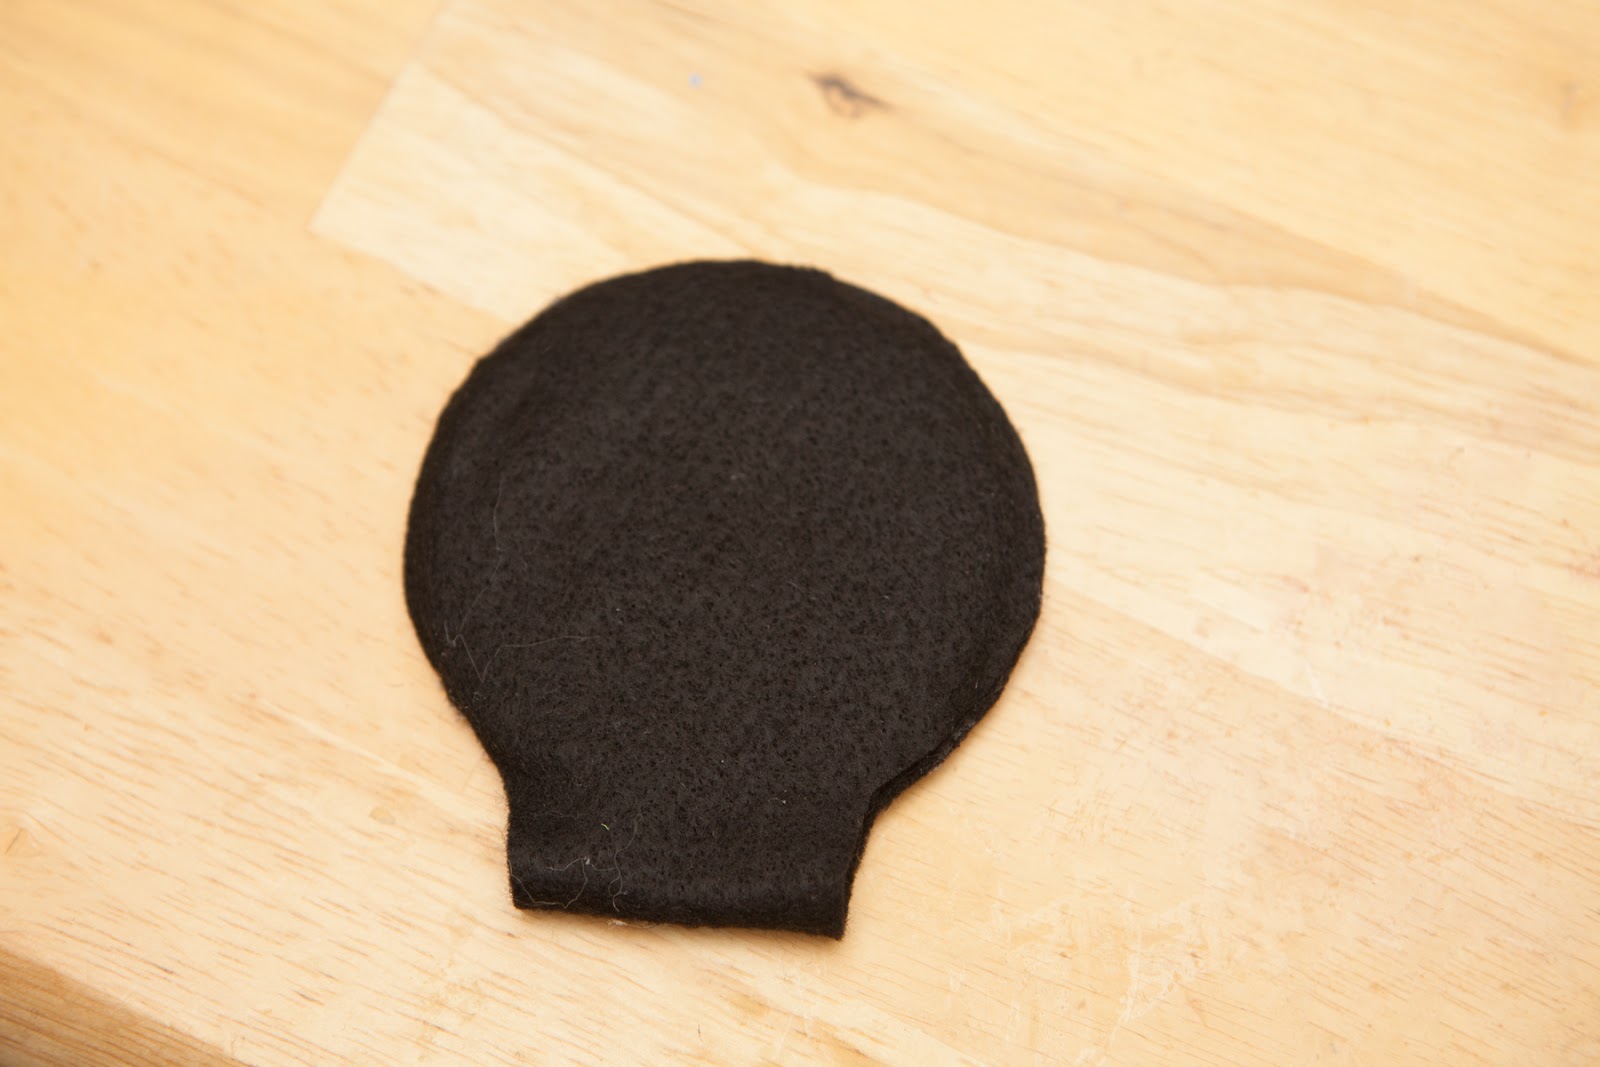
First use the template above and cut out two ear pieces out of black felt.

Cut four circles out of foam.

Hot glue two of the foam circles together and then glue them to the ear piece.

Seal up the edges with hot glue but leave the bottom "rectangle" area open so you can slide the ears onto the headband.
Attach the ears to your headband. I bought a pack of headbands at the dollar store.

Next for the bow. Cut a rectangle that is 8"x12" and another small one that is 1.5"x4"

You'll follow these same instructions for both rectangles. First put right sides together and sew straight down. I used a 1/4" seam for the large rectangle and a 1/8" seam for the small one.

Flip right-side out.

For the smaller rectangle, you'll probably need a safety pin to help turn it right-side out.

Fold the ends in.


Flip back right-side out again and have the seam centered in the back.


No comments:
Post a Comment